eBoosted Shop : Your #1 Shop for electric longboard enclosures
Support
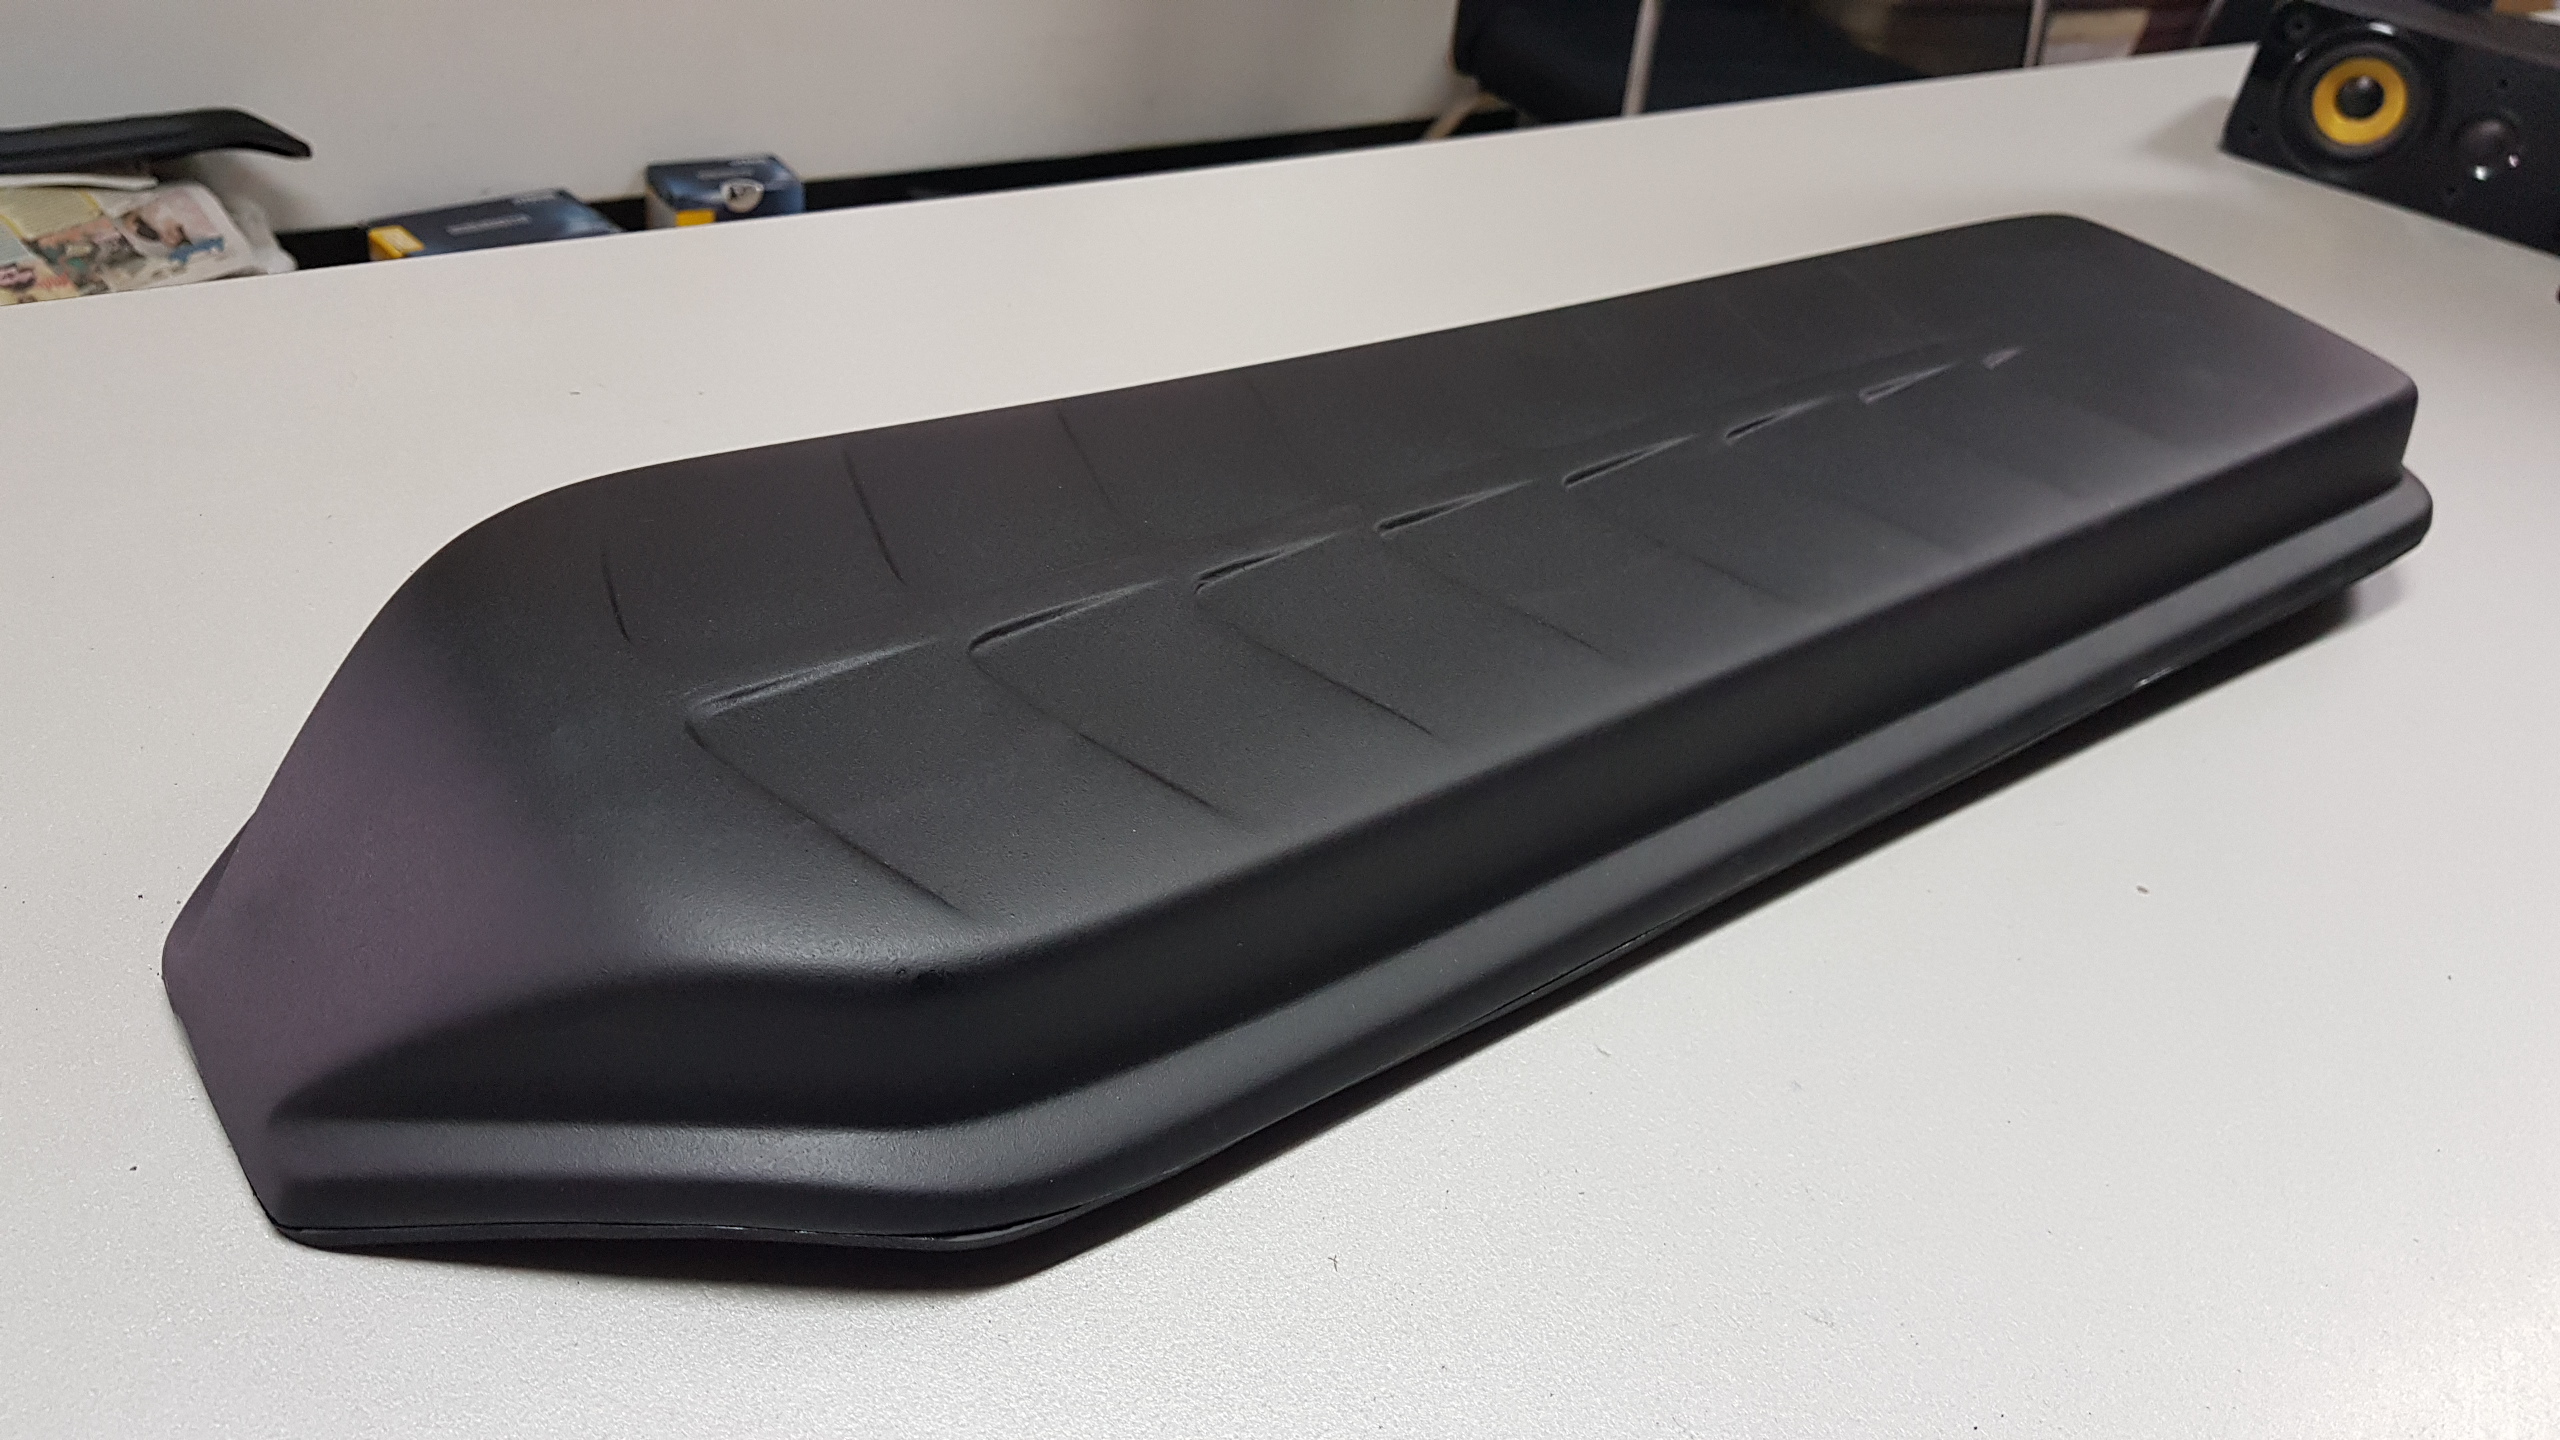
Installing your enclosure to the deck
The holes must be drilled after you have your enclosure and deck on hand. I never ship them predrilled because it’s almost impossible to make a perfectly aligned hole on the deck using the enclosure holes as a guide.
Here is correct way:
Step #1
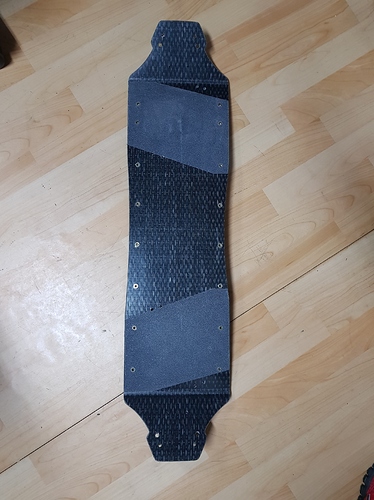
Cut 6 pieces of 5cm long double sided tape and stick it on the borders of your enclosure where it touches the deck.
The objective is to mount the enclosure on it’s final position and avoid it from slipping
Step #2
Depending on the enclosure, you will need to choose how many screws you will need. Here is what I’d suggest:
Vanguard, Icarus
10 inserts (4 ESC enclosure and 6 for the battery enclosure)
12S, Evo SS/DS, Zenith
10 inserts (5 on each side)
Tampa HS11 SS/DS
16 inserts (8 on each side centered on each pocket)
Spud SS/DS
8 inserts (4 on each side)
Step #3
Stick a piece of masking tape on the enclosure and mark the drilling points with a pencil.
Step #4
Drill the holes through the enclosure and deck with a 5mm brad pointed wood drill bit
Step #5
Remove the enclosure from the deck and drill a 7mm hole on the deck only.
Step #6
Use JB weld or any epoxy compund on the external walls of the nut insert and install them on the deck. Hammer the inserts down in order to get them flush with the decks surface.
Some epoxy will acumulate on the surroundings of the nut inserts, that’s ok, just leave it there, do not clean it while it’s soft.
Let it dry overnight
Step #7
Remove any epoxy excess using a small screwdriver and a hammer, it’ll crack and leave no trace of epoxy.
Step #8
On flexible decks I suggest you use a micro drop Loctite 242 to avoid them from backing out.